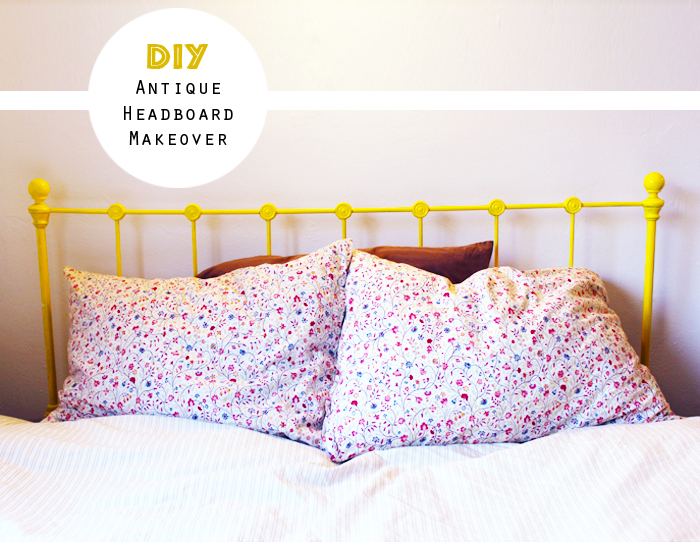
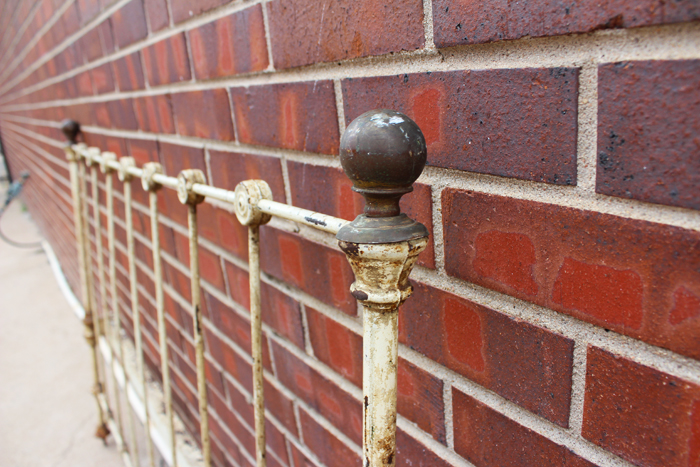
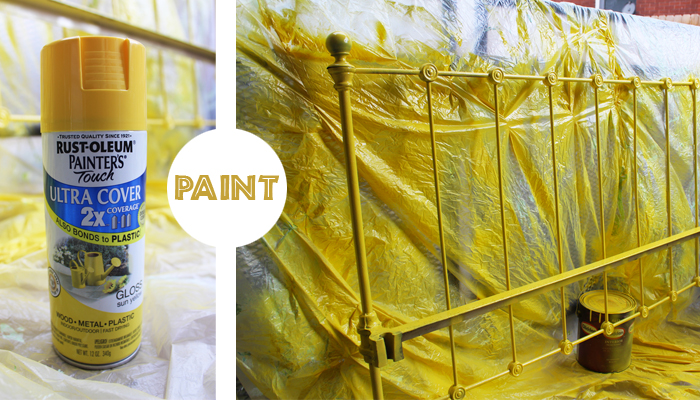
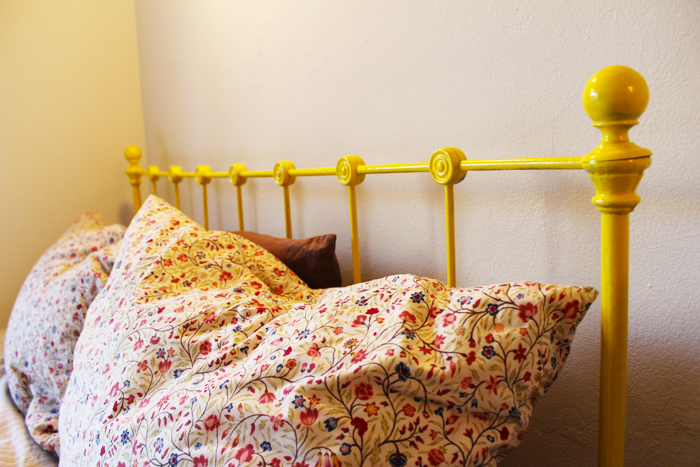
1. I found this dirty old headboard next to the dumpster.  Can you believe it?!  A perfect gem, just waiting for me.  It appeared to be broken and would no longer fit on a frame it once lived on... but with some paint, scrap wood and a few drill holes - Ta-dah!  I have a new headboard.  It was super easy to do.


    I just recently moved into a new apartment so I've been having fun redecorating.  It's refreshing moving into a new place.  However, life has been so crazy that I can't believe how long it's been since I blogged!  Where have I been?!  Well, now I've re-dedicated.  I actually miss my blog... but the break was well needed.

    Oh, and guess what - Happy Friday!!


    Ninth and Bird
    |


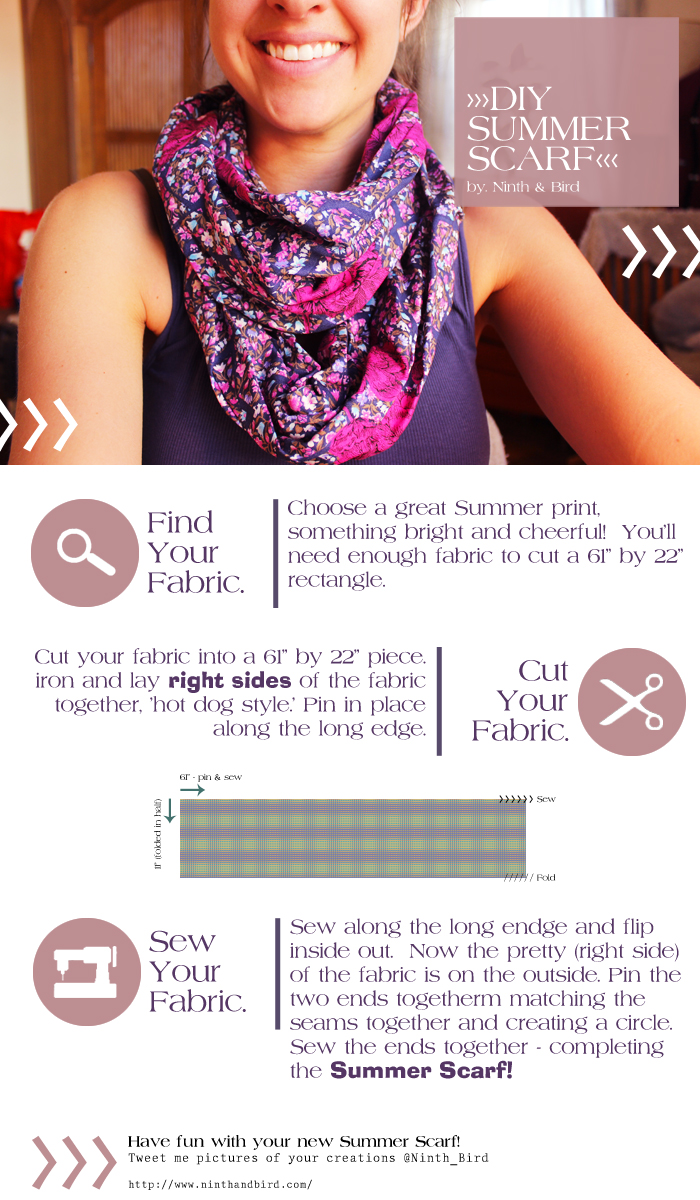
  2. DIY Summer Scarf

    Thursday, April 26, 2012

    (Grab the code above if you would like to share this instructograph on your blog)


    A few months ago I found this beautiful flowery fabric at a thrift store.  I knew I wanted to make an infinity scarf out of it and I think it turned out really well!  It was so simple to make so I think I'll have to make a few more for the Summer.  What do you think?!

    If you end up making one - share pictures!  I'd love to see them!


    Ninth and Bird
    |


  3. One thing I've learned during my blogging adventures: You eat with your eyes first!  Photography is everything when trying to capture a tutorial for your readers, or make your products look desirable on Etsy.com.  And what's the most important part? Lighting!  

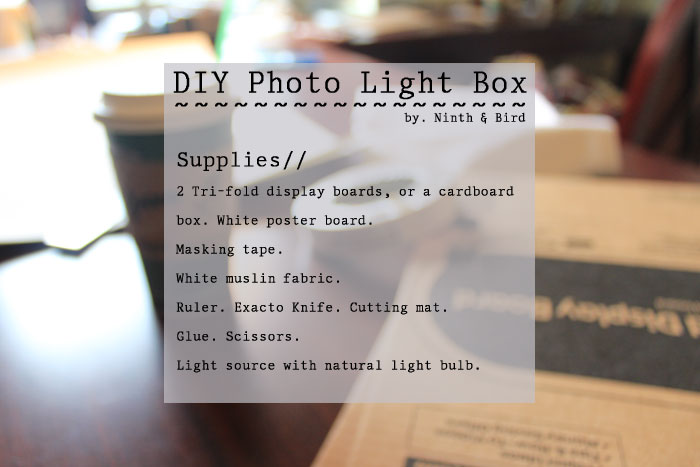
    Follow this little tutorial to make your own Photo Light Box for the perfect lighting.

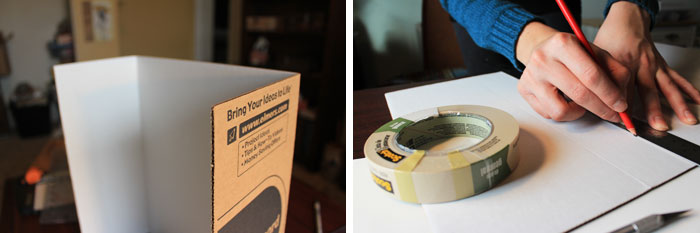
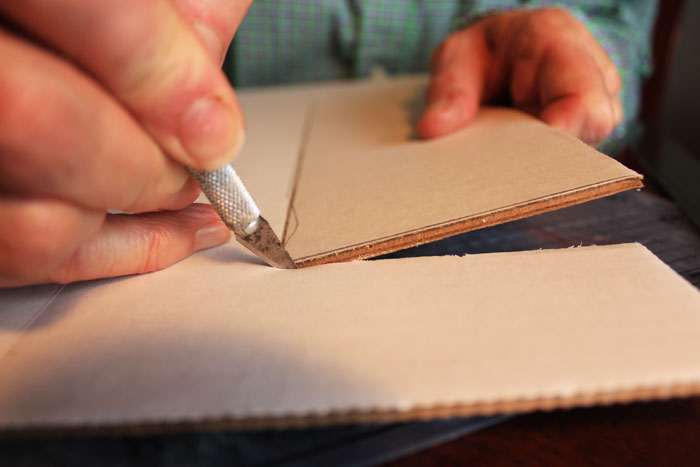
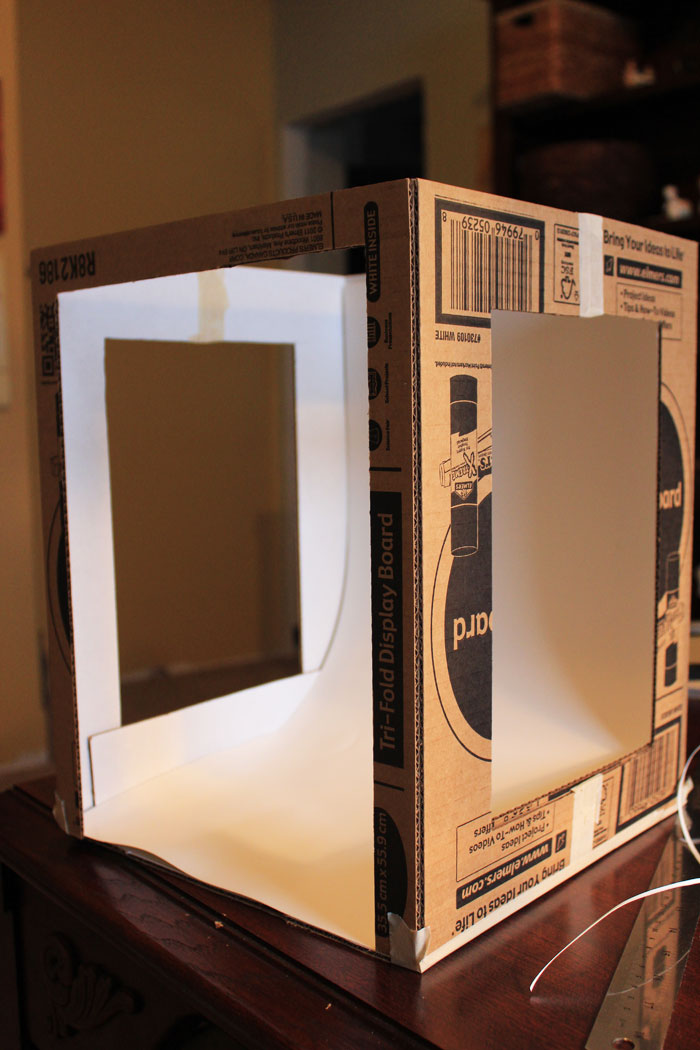
    Cut a border of 2 inches on each side of the tri-fold display board (the two sides and the back).  Make the front of the box (the part you'll take photos from) have a one inch border.  Use the pieces you've cut out to add a bottom to the light box (or if you started with a cardboard box instead of a tri-fold display board, you won't need to do that).  

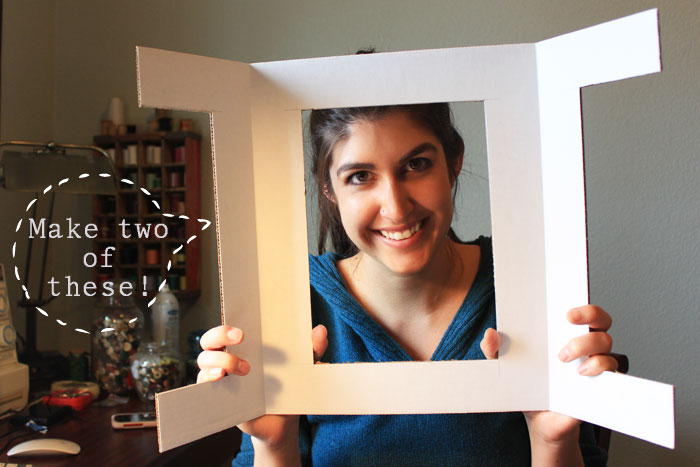
    Use a ruler and an exacto knife to make straight edges.  You should have two pieces that look similar to the photo below: 
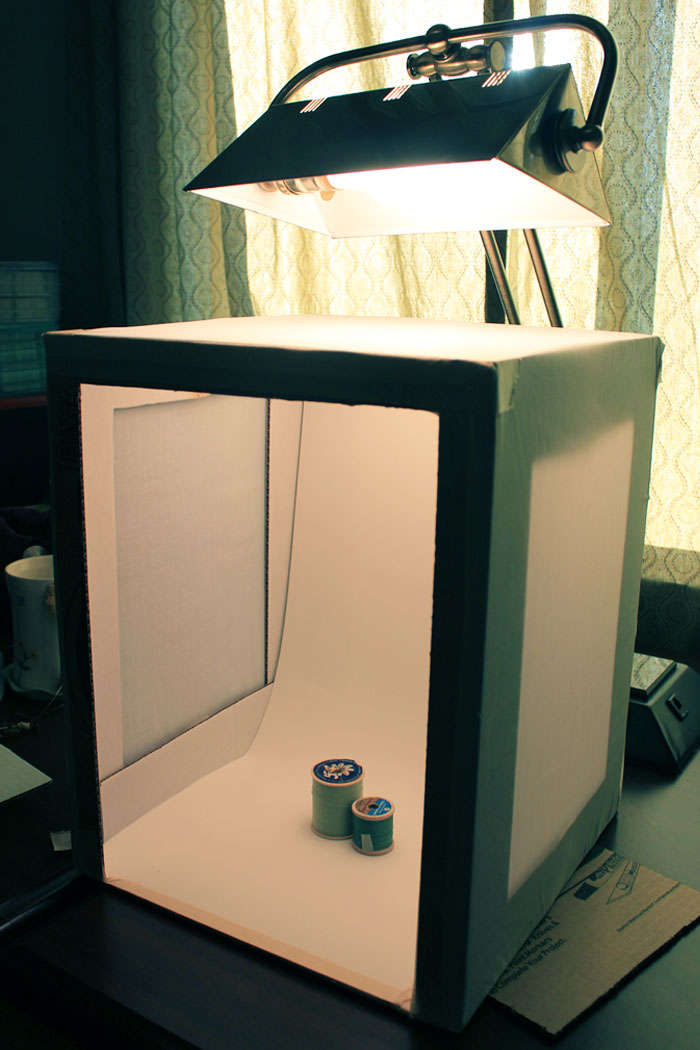
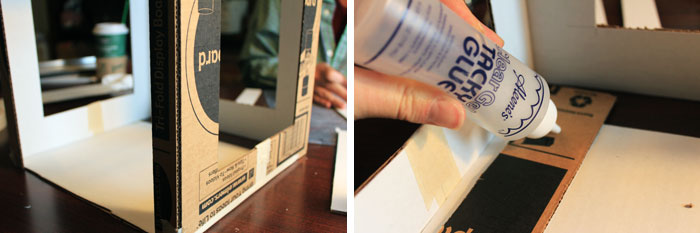
    Use masking tape to attach the two pieces to form a box.  Create more support by attached extra pieces of cardboard to the joints (it also covers up the tape with white cardboard).  Cut white poster board to fit into the box, forming a curve at the back. You want the back of the box to appear seamless from the white poster board, like the image below:
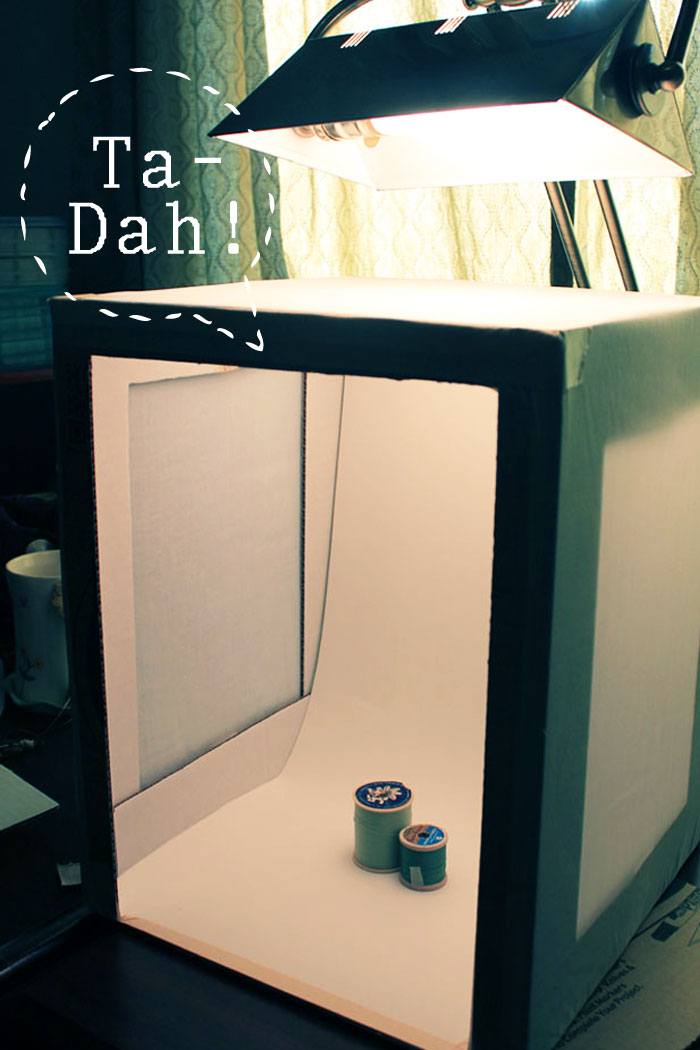
    Finally, cover the two sides and the back with white muslin fabric, attaching it with masking tape.  Use a lamp with a "natural light" light bulb to prevent a yellow glow on the items you are taking photos of.  The final light box will look similar to the image below:  Ta-Dah!

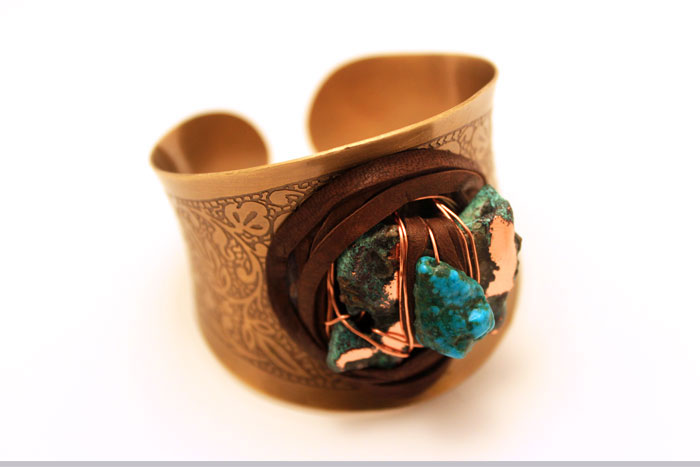
    Ta-Dah!  And that's all it takes to a great close up photo!  The white background is a classic look and it really makes your item pop!  


    Ninth and Bird
    |


  4. Pine Cones and Candles

    Thursday, December 1, 2011


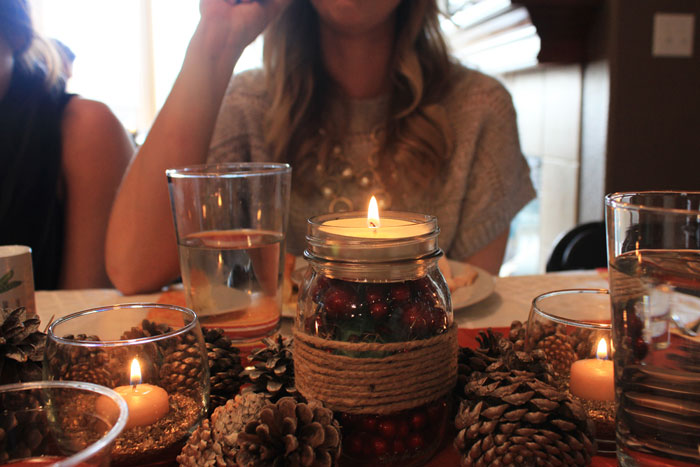
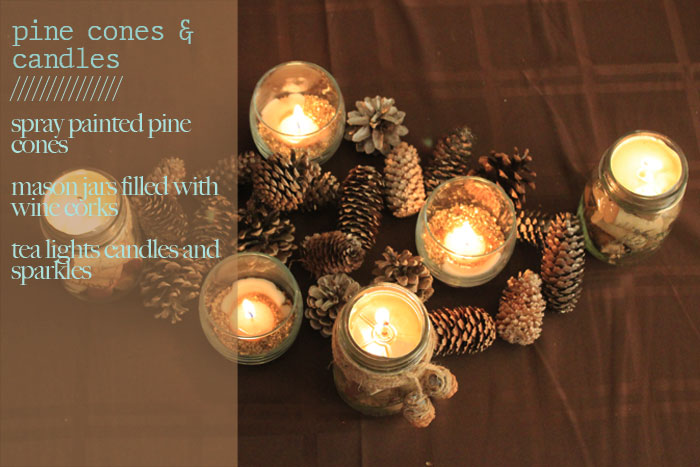
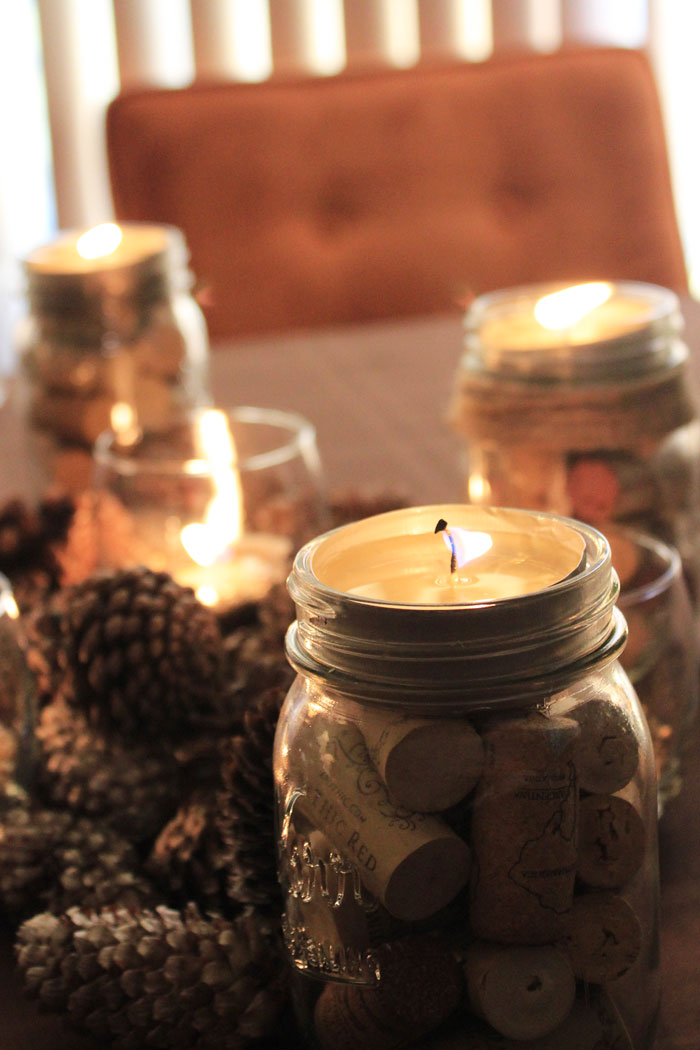
    Pine cones and candles, such a romantic combination!  I think the holidays are so beautiful with all the lights and decorations -- and the best part is the parties!  What do you think of this table set up?  Combined with the painted wine bottles it was quite charming!

    Have you submitted your holiday crafts and recipes to "Deck The Blogs" yet?  Hurry up! 

    Ninth and Bird
    |


  5. DIY Sunburst Twig Wreath

    Monday, November 21, 2011


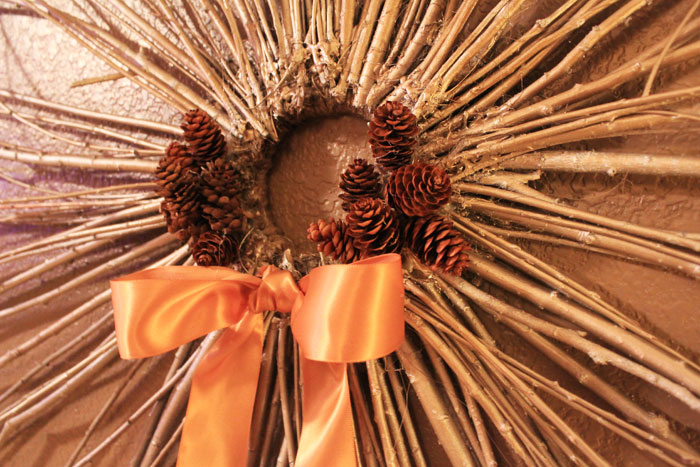
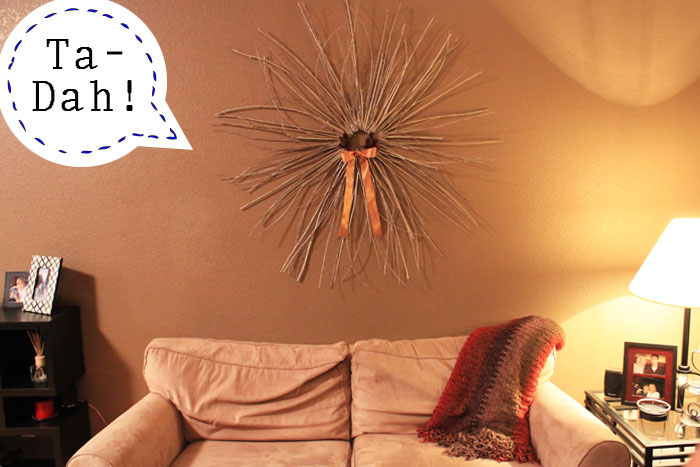
    It’s wreath season!  This Sunburst Twig Wreath was fun and is going to add to our Thanksgiving (a.k.a."friendsgiving") decorations.  I can't wait for the fun to start!  It was a pretty simple project overall, and here’s what we did.

    DIY Sunburst Twig Wreath

    1}   Gather sticks of various sizes and lengths - we gathered ours from a neighboring ditch…

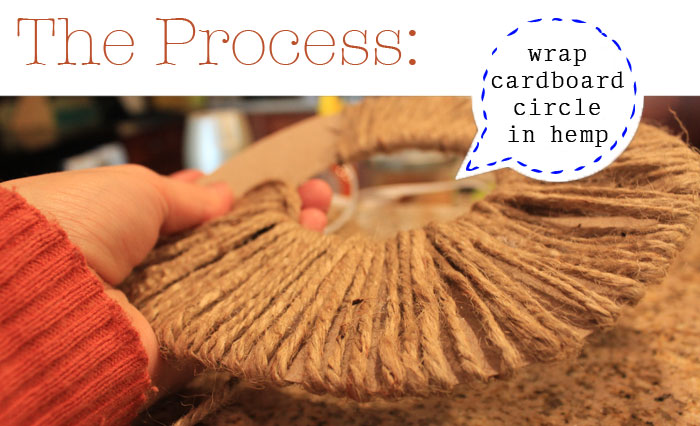
    2}   Cut a piece of cardboard into the shape of a circle (about 7 inches) and cut out a whole in the middle (about 3 inches).  Then wrap the cardboard in hemp and secure in hot glue. 

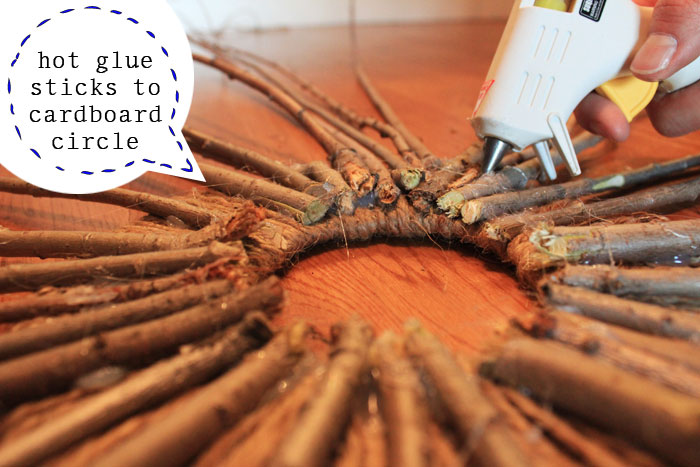
    3}   Place larger sticks on the cardboard and begin planning where you want them to be.  I spaced out the fatter sticks first and glued them down with hot glue.  Add the rest of the sticks, securing with hot glue, until it is full around the circle. 

    4}   Trim the ends of the sticks until you have the shape of wreath you want.

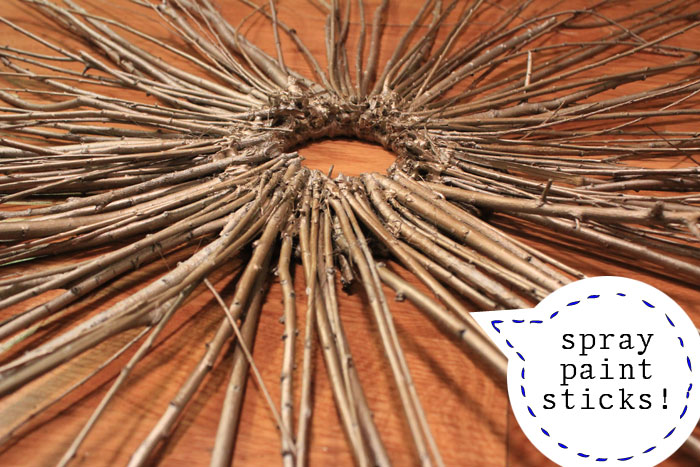
    5}   Use silver or gold spray paint to cover all of the sticks.  This covers will cover any glue that is visible and makes the sticks have a holiday shine!

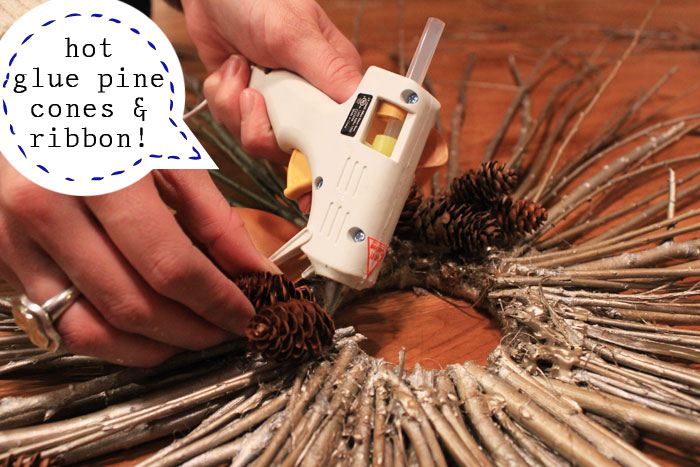
    6}   Take a piece of ribbon and tie a bow for the wreath - hot glue it to the wreath (you may need a good amount of hot glue sticks for this project!)  Add small pine cones, holly, or whatever you’d like to spice up your wreath! Enjoy!


    Ninth and Bird
    |


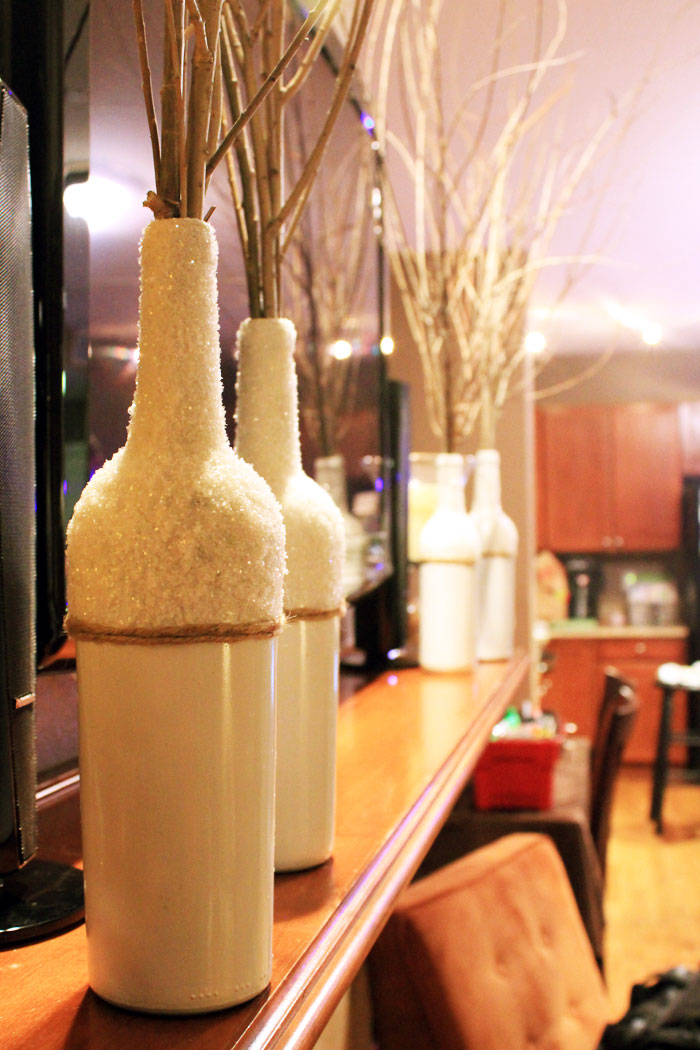
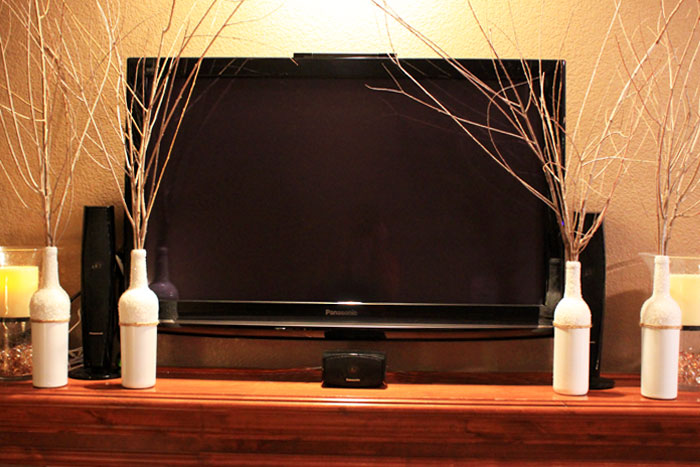
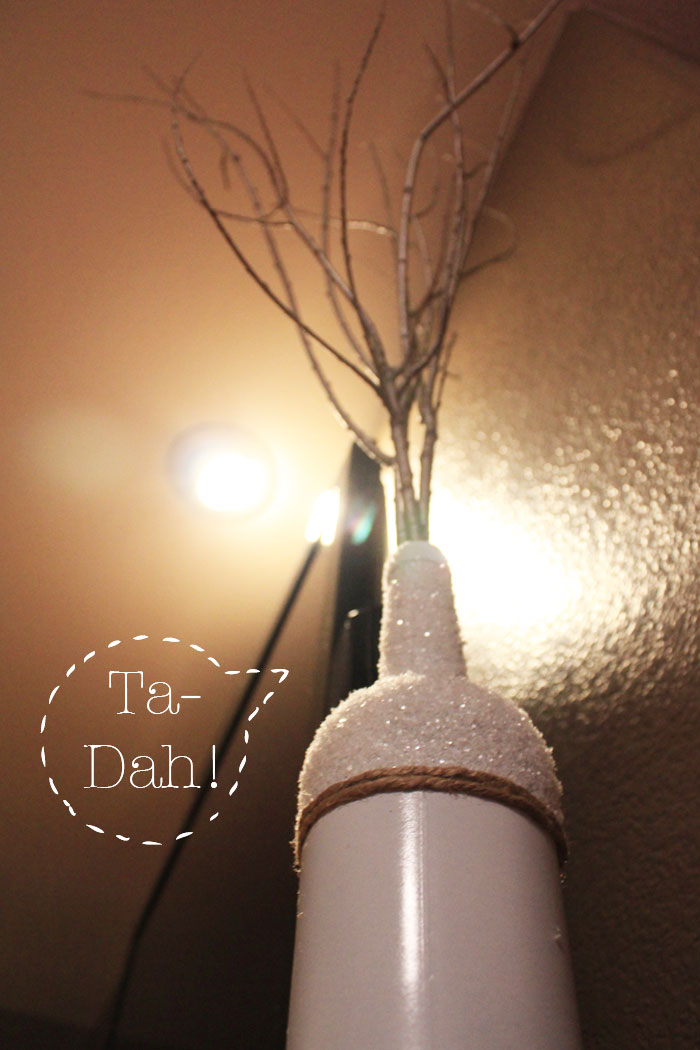
  6. My friend Amanda and I have been preparing a few decorations for “Friendsgiving!”  It’s going to be the best Thanksgiving ever, filled with friends and amazing food… I can hardly wait!  We made four Painted Wine Bottle Trees for the tables.  I think they turned out rather adorable!  What do you think?

    DIY Painted Wine Bottle Trees

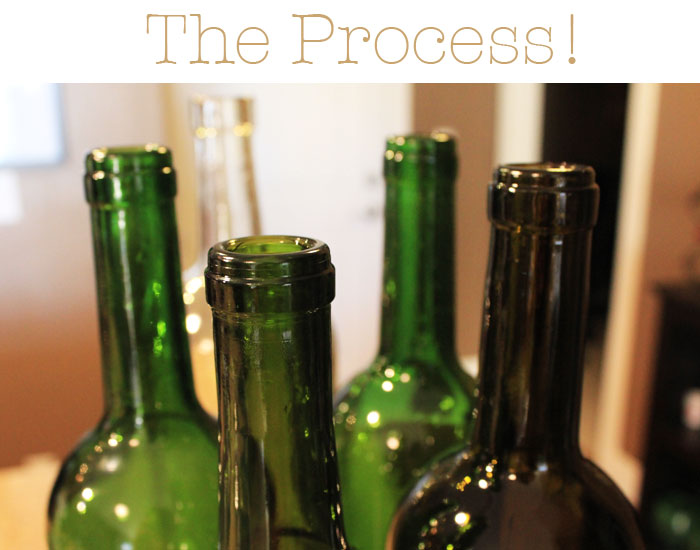
    1}   Soak wine bottles in hot water until the labels are able to come off easily.  We left the bottles soaking over night, which worked really well.  Scrub the labels off and dry the bottles.

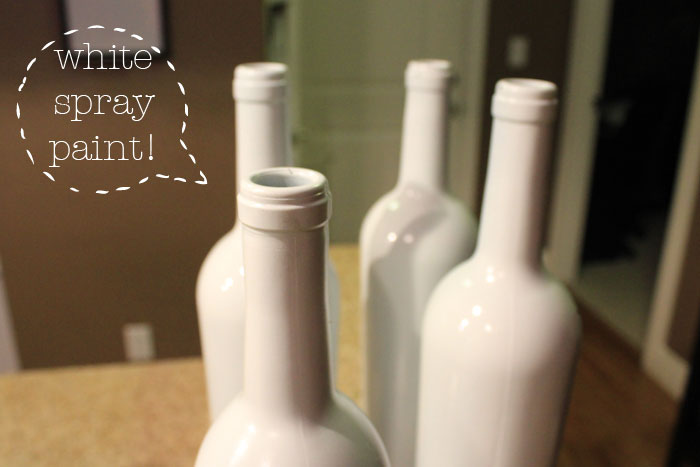
    2}   Use white spray paint to evenly coat wine bottles; let them dry.

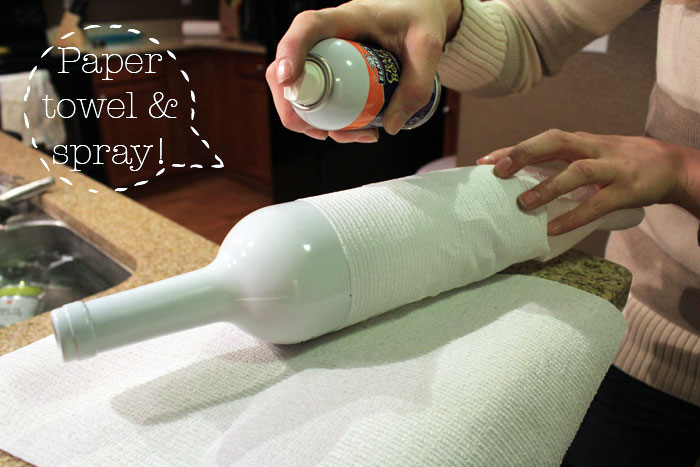
    3}   Use a paper towel to cover the bottom half of the bottles.  Use a piece of tape to hold paper towel on - but don’t let it touch the fresh paint. 

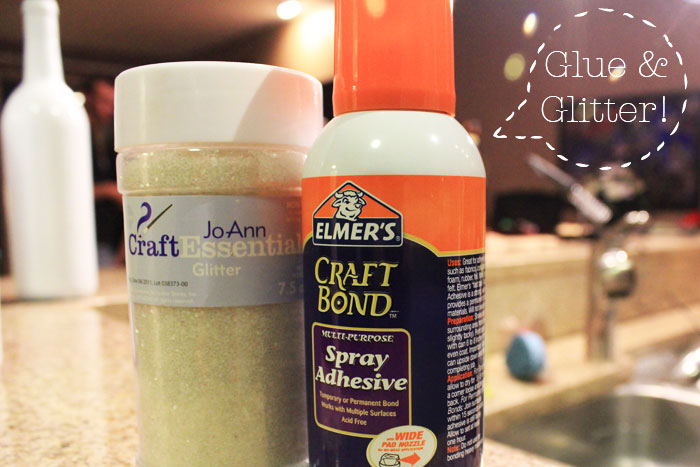
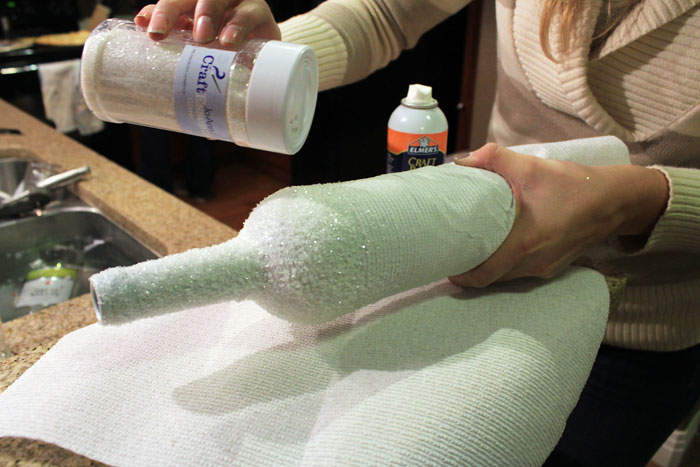
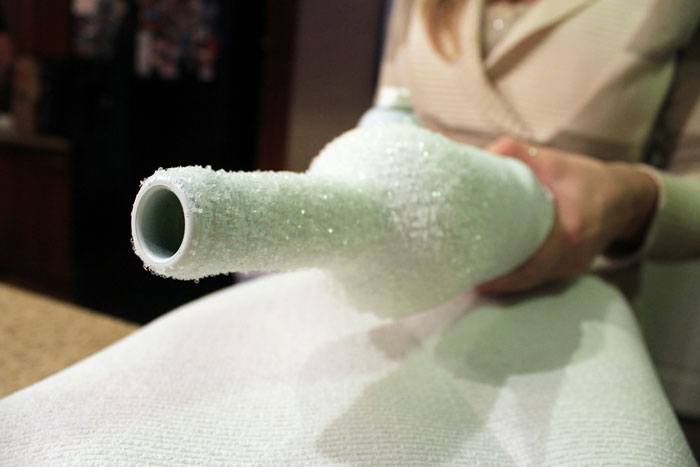
    4}   Spray an even layer of the spray-on glue and sprinkle with white glitter.  Let it dry and then remove the paper towel.  Repeat on all bottles.

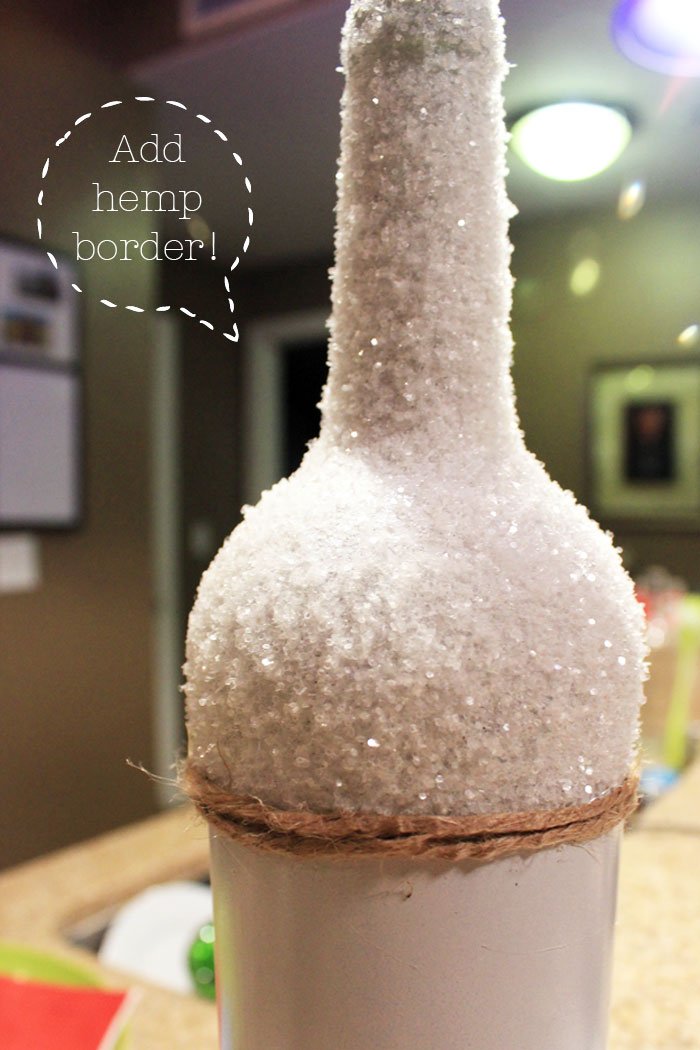
    5}   Take a roll of hemp and wrap along the border of the white paint and the glittered area.  Secure with a dab of hot glue.

    6}   Gather branches and twigs that you want to stick inside the bottles.  (Paint them if you want!  ..maybe shimmery gold paint!)  Place them on your Thanksgiving table and enjoy!

    Ninth and Bird
    |


  7. DIY Round Up | Happy Monday

    Monday, October 24, 2011

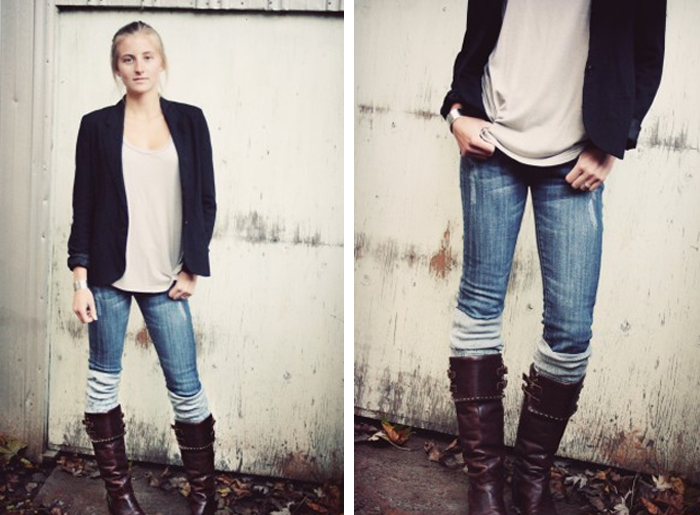
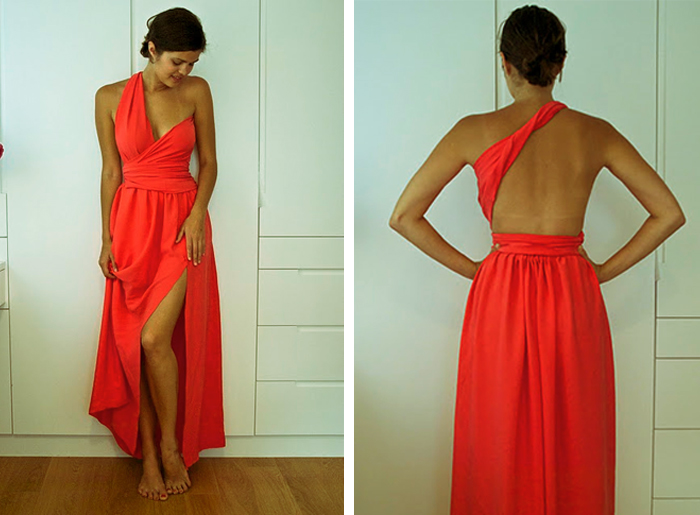
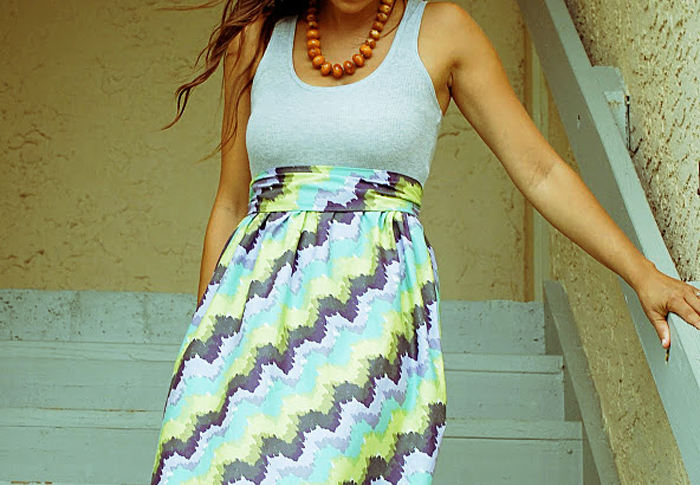
    Hello my darlings!  Ahh, it's Monday again.  Well, here are a few DIYs that I've found to distract you from your Monday blues.  I think they're great and I'm definitely going to try making these leg warmers.  How perfect for Fall!
    DIY Leg Warmers
    DIY Leg Warmers // From Lex

    DIY wrap dress
     DIY Side Split Wrapped Bodice Dress // From A Pair & A Spare

    DIY quick simple dress
     DIY Quick Dress // From A Small Snippet


    Ninth and Bird
    |


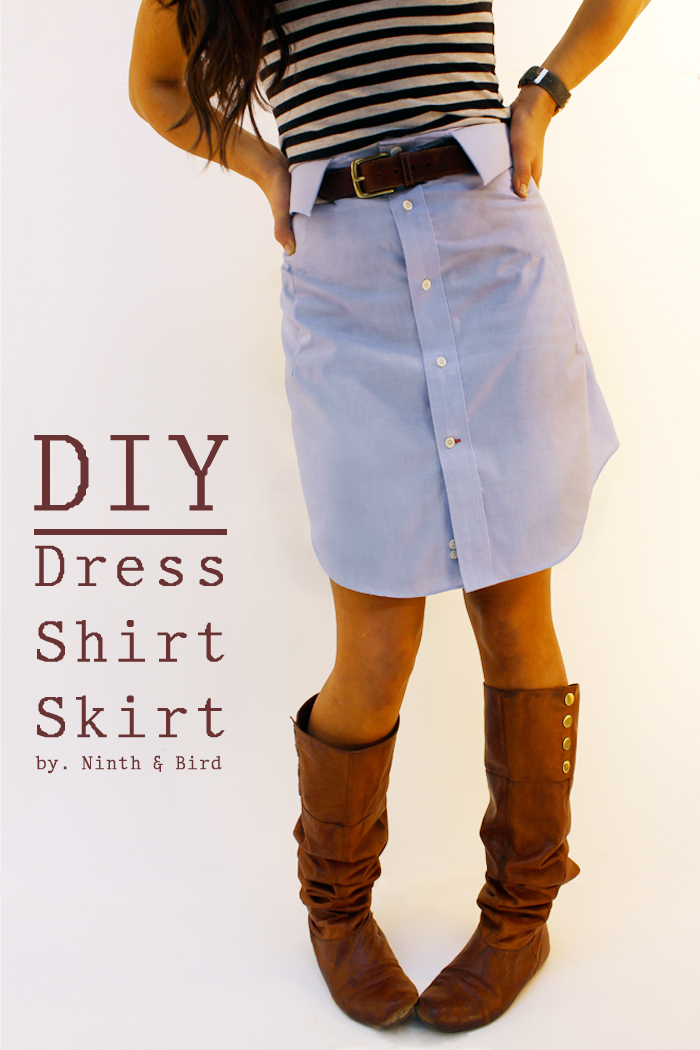
  8. DIY Dress Shirt Skirt //

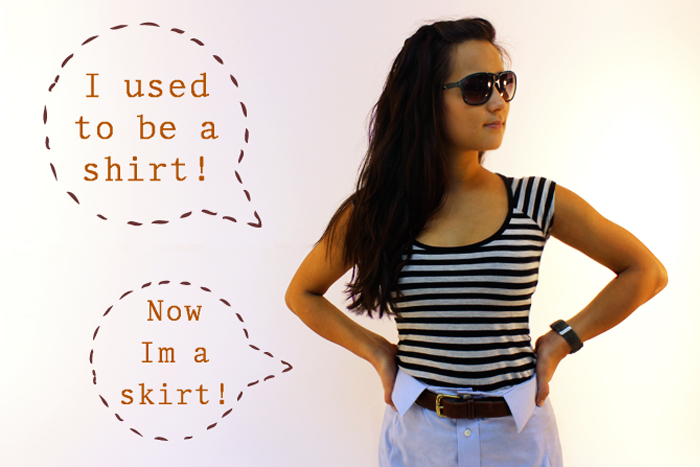
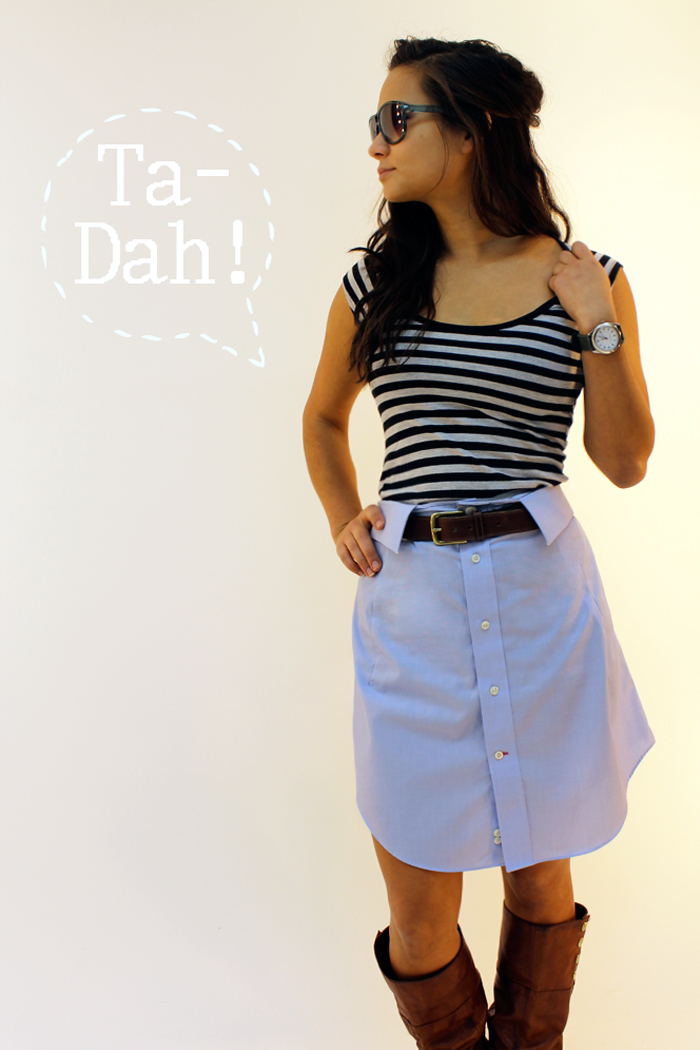
    I love making new things out of something old!  I came across this skirt on Pinterest and thought it looked a lot like a Men's dress shirt.  I decided to see if I could make it myself!  It was actually really easy and P.S. thrift stores always have an abundant supply of dress shirts, so try it for yourself!

    What You'll Need //

    {1}   Men's dress shirt
    {2}   Ruler
    {3}   Scissors
    {4}   Sewing Machine & thread
    {5}   Needle and pins

    What You'll Do //

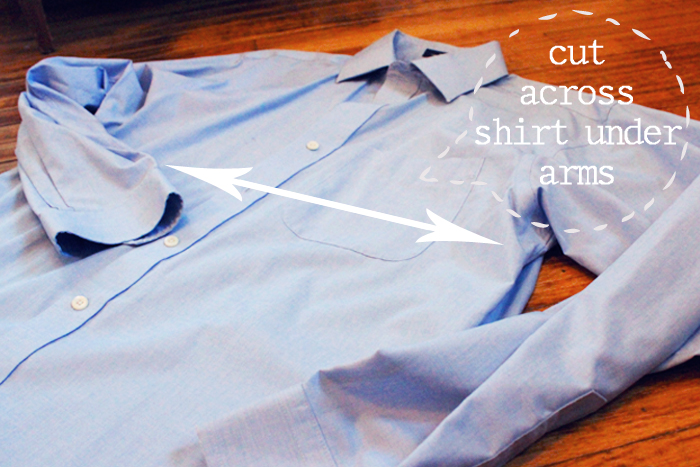
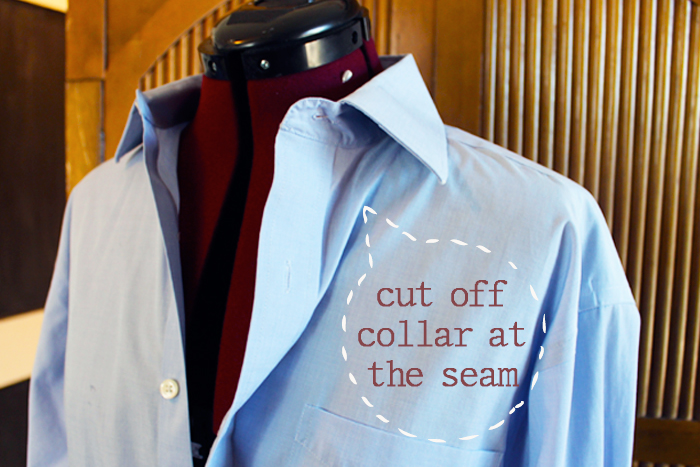
    {1}   Lay your dress shirt out flat and cut across the chest, just under the arms.  Remove the collar, cutting at the seam.  Once removed, cut the collar in two equal parts for each side of the waist.

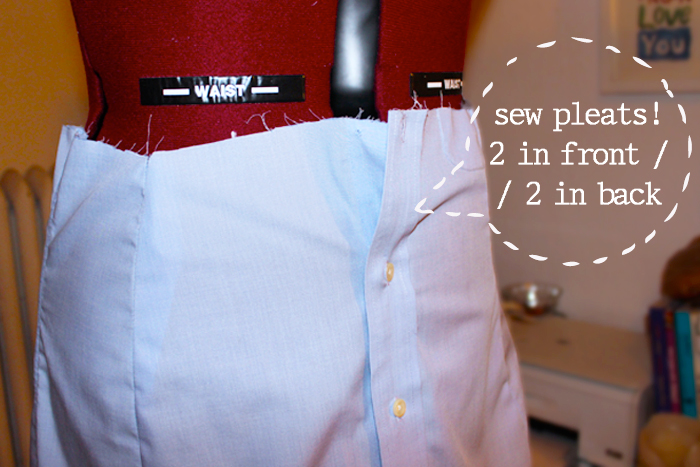
    {2}   Sew four pleats into the shirt; two in the front and two in the back.  Use a ruler to make sure you are placing them evenly.  I used a mannequin and pinned the pleats where I needed them.  Once you have the pleats pinned, press with and iron, and then use a sewing machine to sew all four in place.

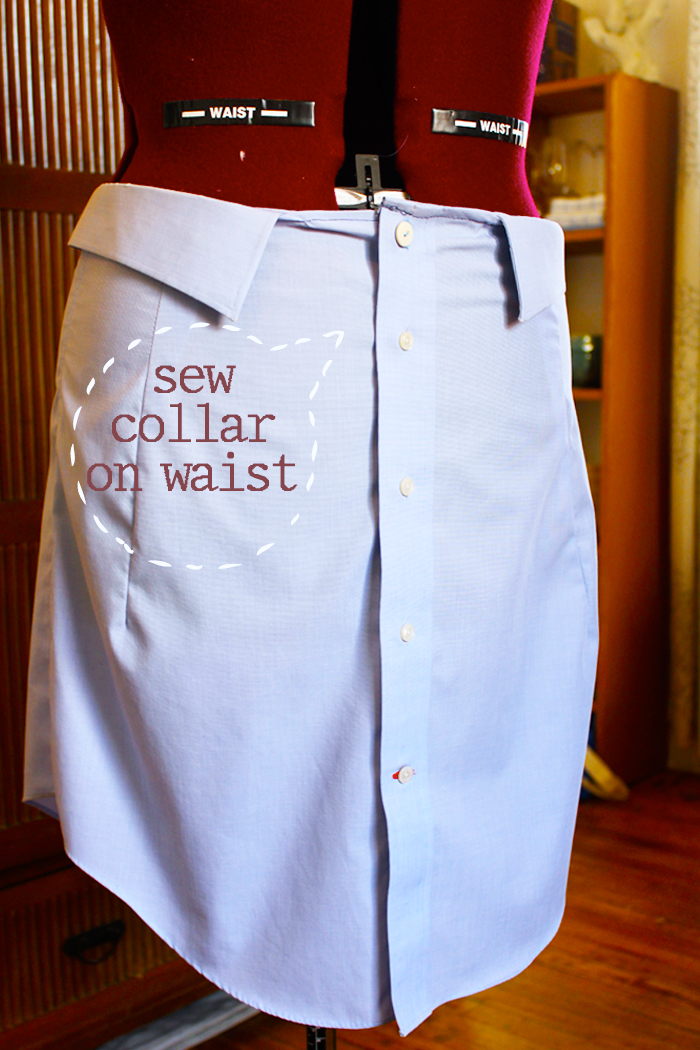
    {3}   Use a ruler to determine the right place for the two half collar pieces - place them wherever you want but make sure they are evenly spaced from the middle button.  Pin in the right place and sew with a sewing machine.  Cut the excess off from the back when done.

    {4}   Use a needle and thread to connect the back of the collar pieces to the skirt; just the bottom edge so a belt can go through. 

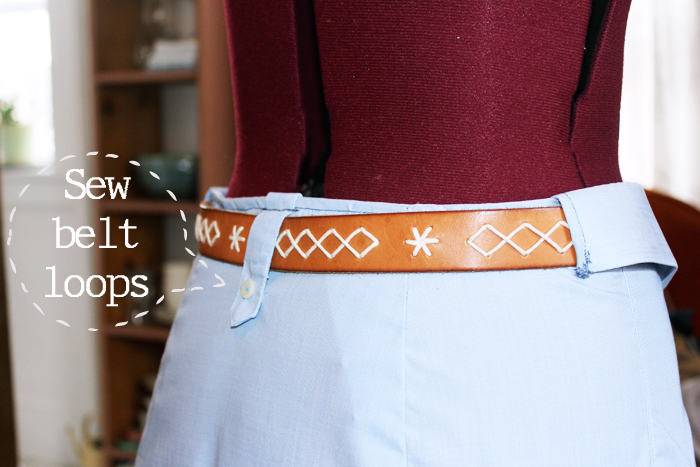
    {5}   Take a piece of fabric from the unused sleeve to make a belt loop.  Use a ruler to make sure you place it in the middle and sew by hand; add a button.  If needed, add a button to the front to secure the top of the skirt. 

    {6}   Do a final ironing, throw on a belt, and you're ready to go! 


    Ninth and Bird
    |


Related Posts Plugin for WordPress, Blogger...