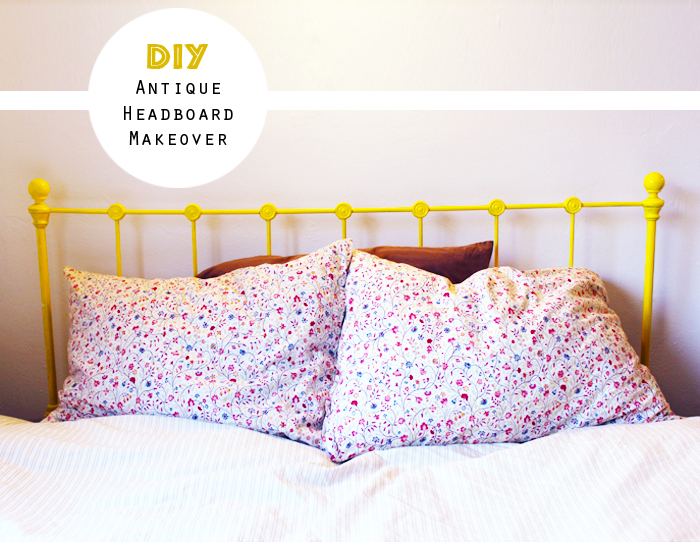
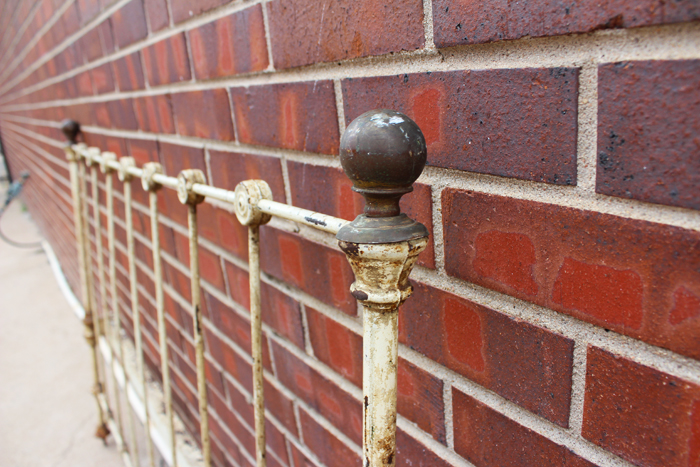
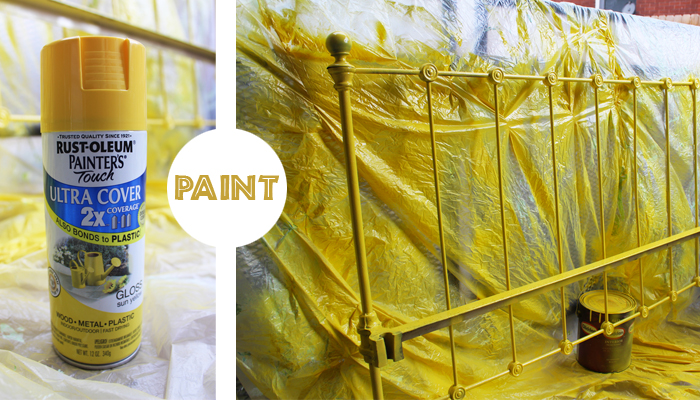
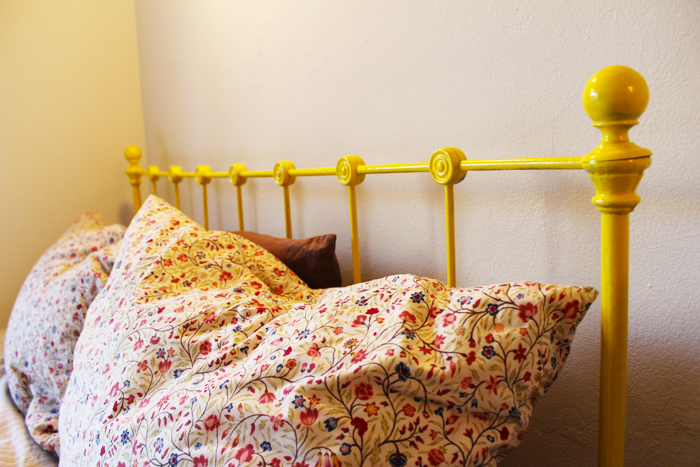
1. I found this dirty old headboard next to the dumpster.  Can you believe it?!  A perfect gem, just waiting for me.  It appeared to be broken and would no longer fit on a frame it once lived on... but with some paint, scrap wood and a few drill holes - Ta-dah!  I have a new headboard.  It was super easy to do.


    I just recently moved into a new apartment so I've been having fun redecorating.  It's refreshing moving into a new place.  However, life has been so crazy that I can't believe how long it's been since I blogged!  Where have I been?!  Well, now I've re-dedicated.  I actually miss my blog... but the break was well needed.

    Oh, and guess what - Happy Friday!!


    Ninth and Bird
    |


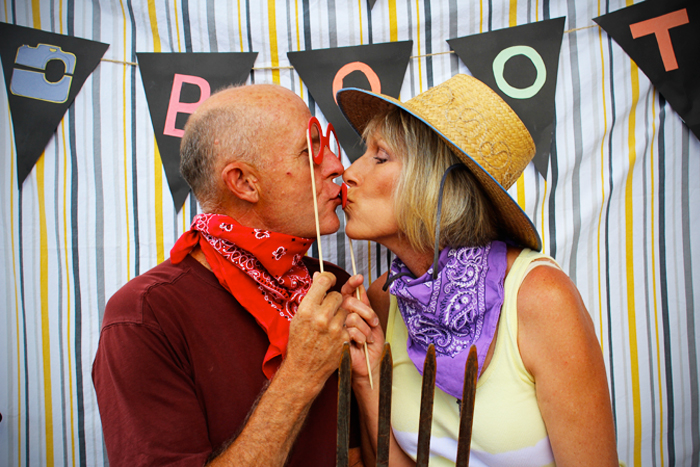
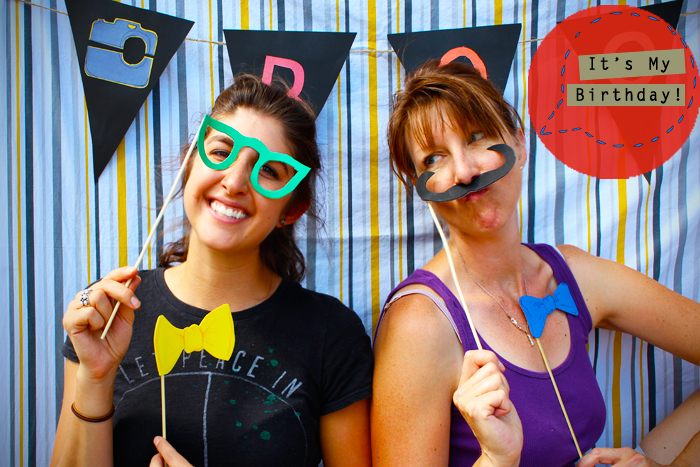
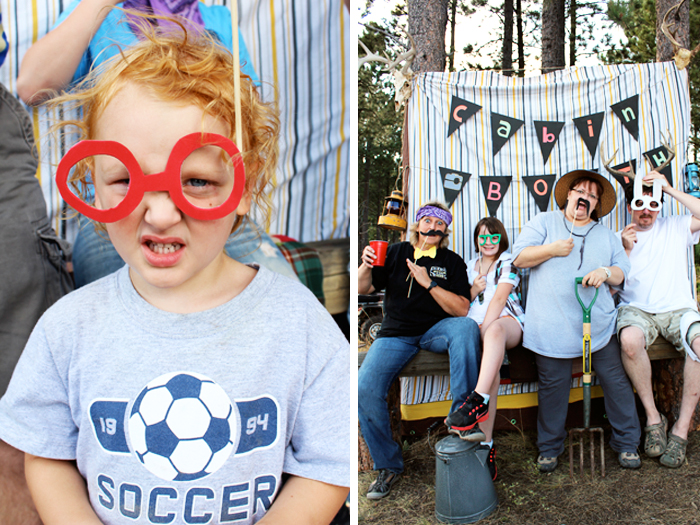
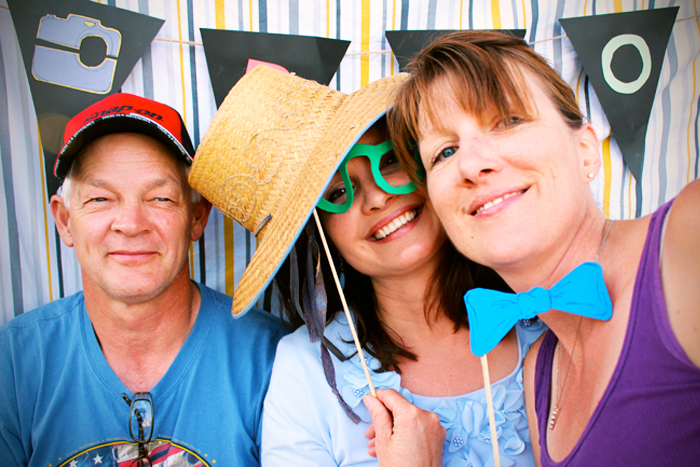
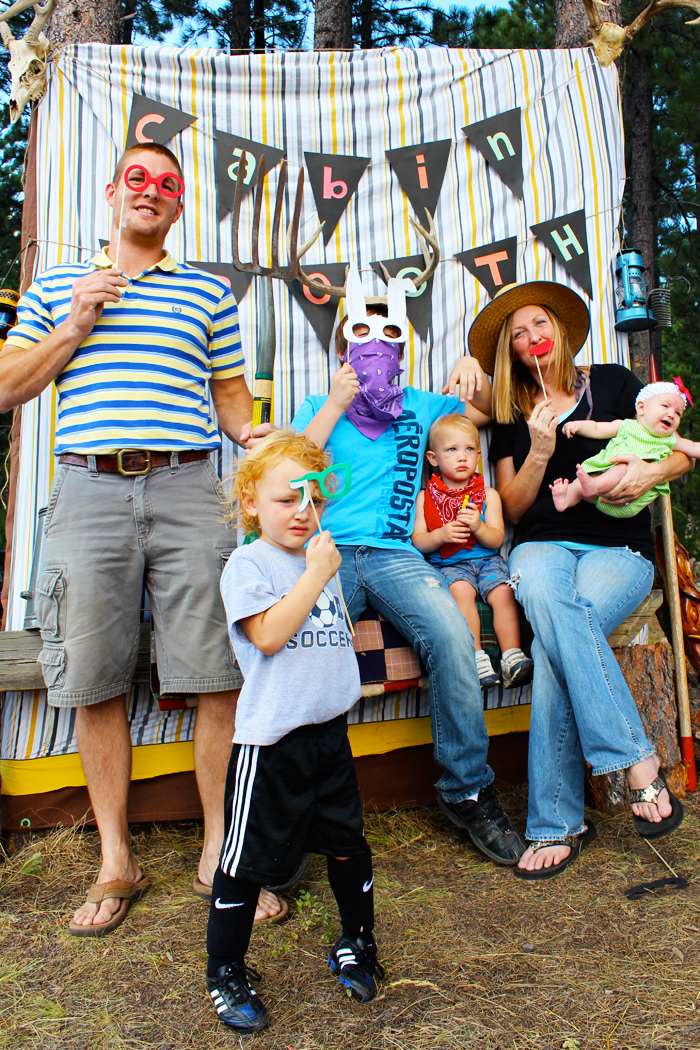
  2. Cabin Photo Booth // My Mother Turns 50!

    Tuesday, August 30, 2011

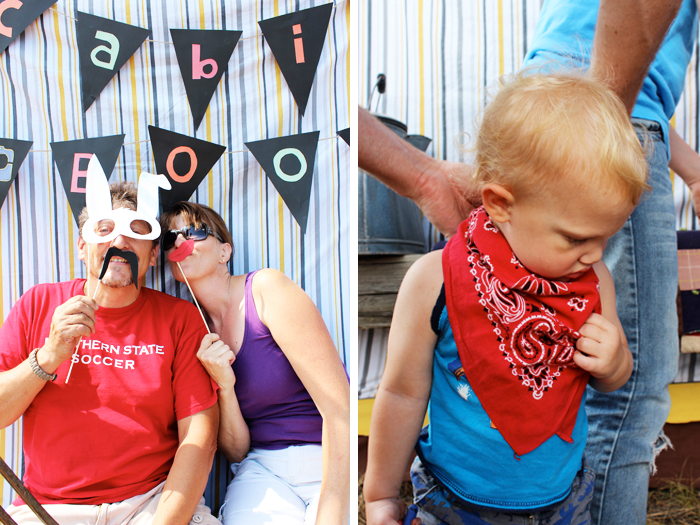
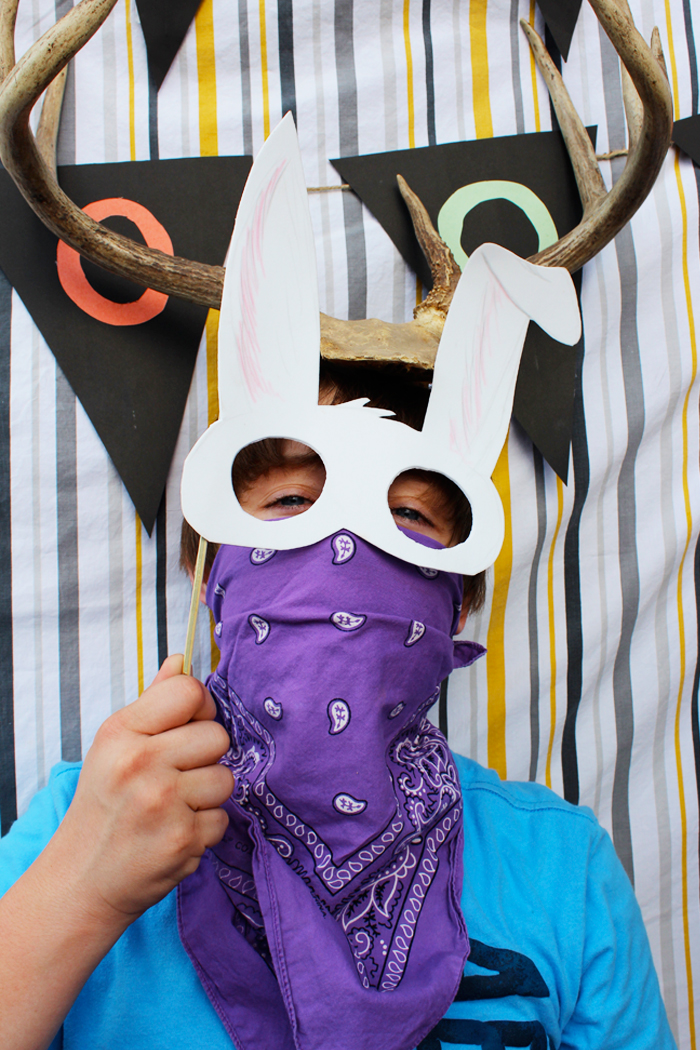
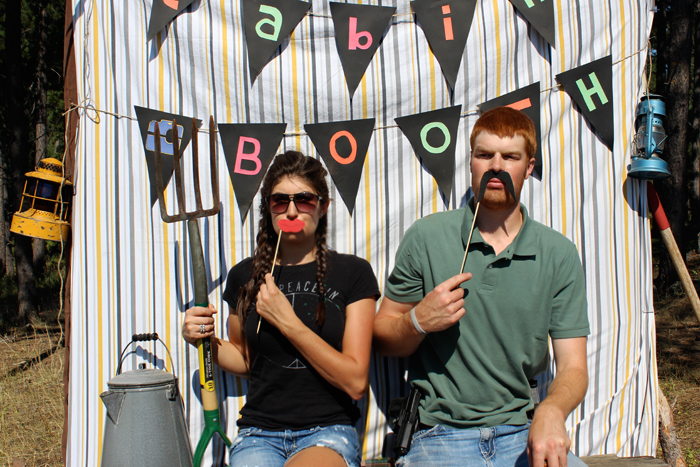
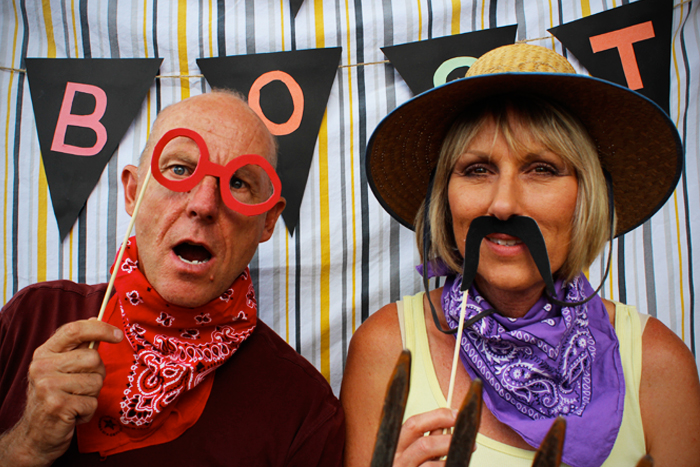
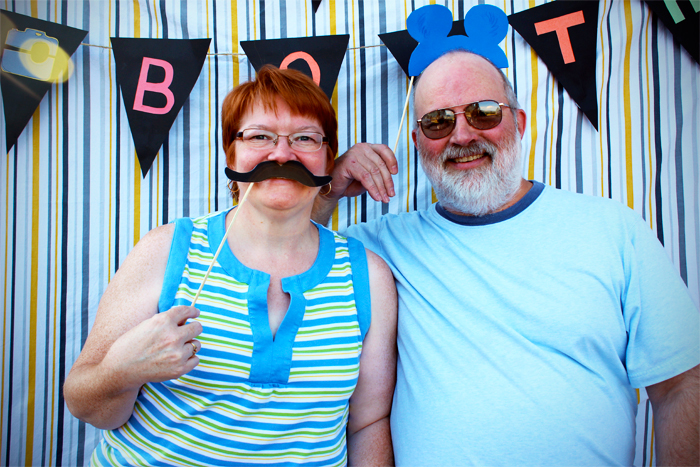
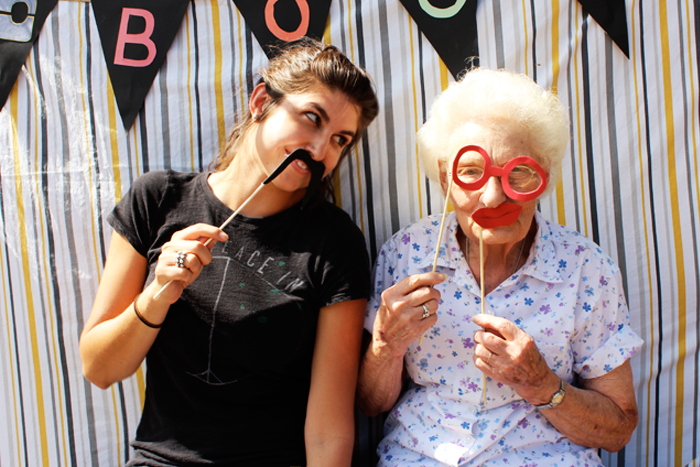
    I spent the weekend in South Dakota for my mother's birthday!  She turned 50 years old!! (P.S. how did that happen?!)  Her party was at our cabin in the Black Hills and we set up a photo booth to remember the occasion.  Everyone had so much fun with it!  What a great way to remember your birthday and all the goofy guests!  More on our cabin weekend coming next!

    Ninth and Bird
    |


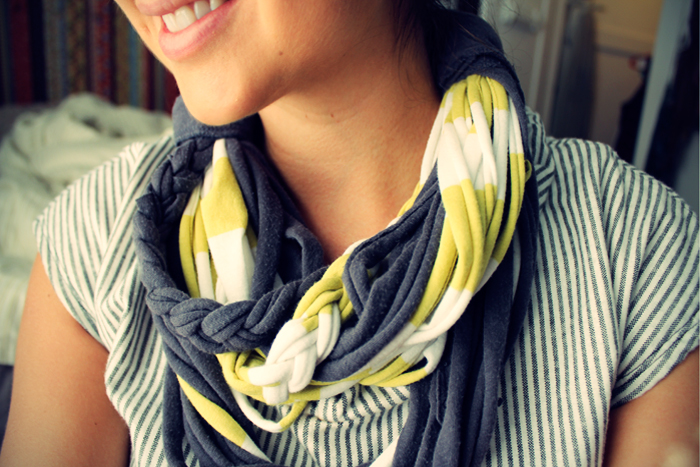
  3. D.I.Y:  Recycled T-Shirt Scarf

    1} Gather a few old t-shirts you don't wear anymore; thrift them or buy new -- but choose thin, soft (preferably worn out) t-shirts.  Find two t-shirts of different colors that go well together. 

    2} Lay the shirt flat on the table or floor.  

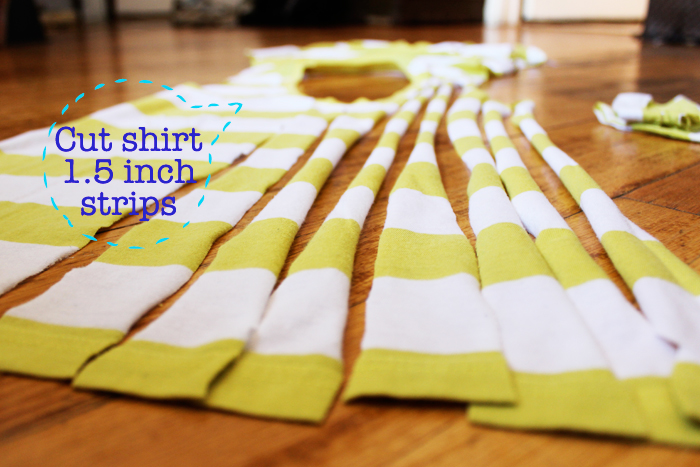
    3} Cut 1 1/2 inch strips, remove the hemmed edges.  Cut them as long as possible; I went from the bottom of the front of the shirt all the way to the end of the back on some pieces.  Obviously you won’t be able to do that for all of them, but the varied lengths are okay.  Use fabric scissors if you have them!

    4} Cut off the sleeves of the shirt and save them for the end.  I used them for the final wrapping!

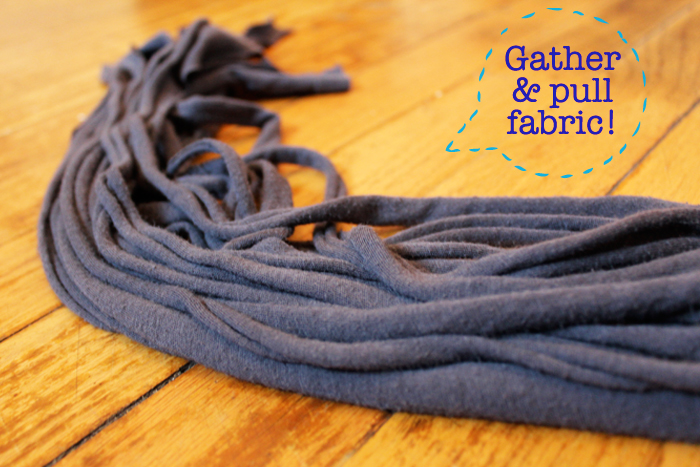
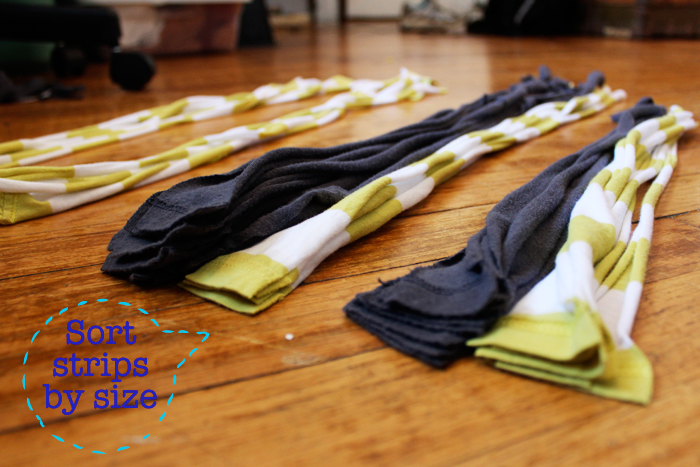
    5} Organize the strips by length and gently pull on them.  When you do this they naturally curl in on themselves.

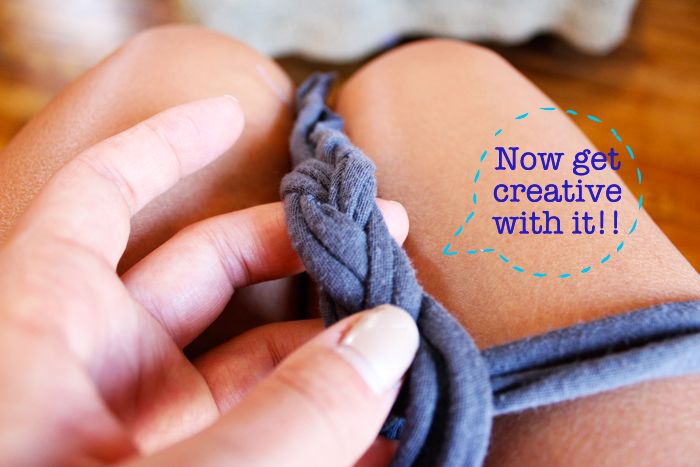
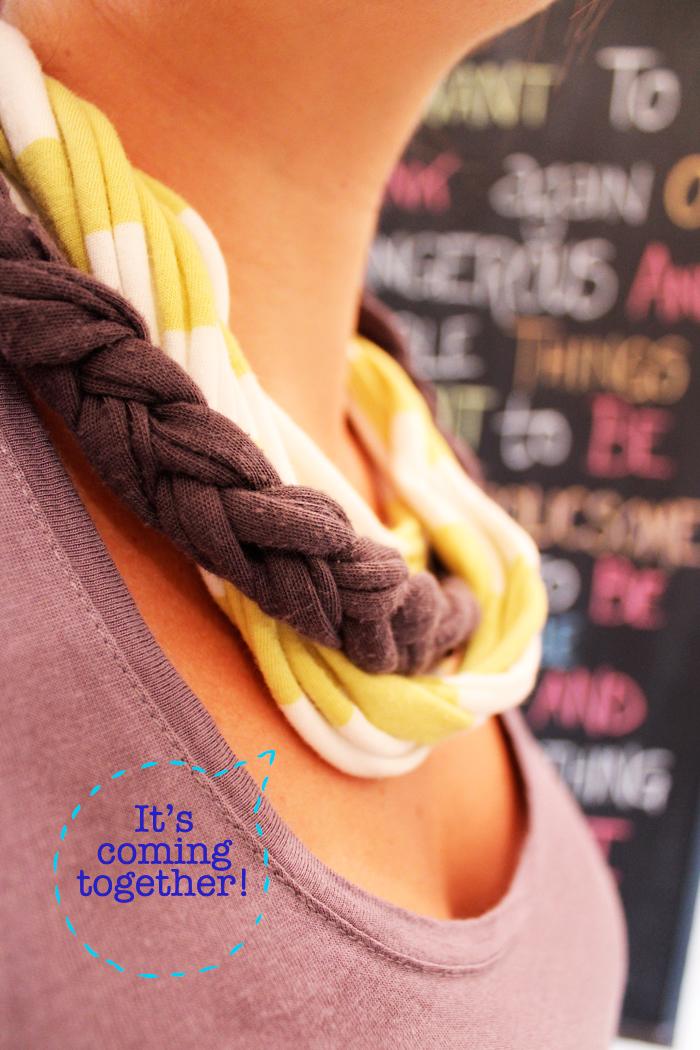
    6} NOW GET CREATIVE!  Start piecing the strips together the way you want your scarf to look.  Twist them, Braid them and mix the colors.  You could even add beads or old jewelry to dress it up even more.  Lay your design on the table and secure it with small ribbons of t-shirt scraps (don’t worry that showing; you’ll cover it up with the final wrapping).

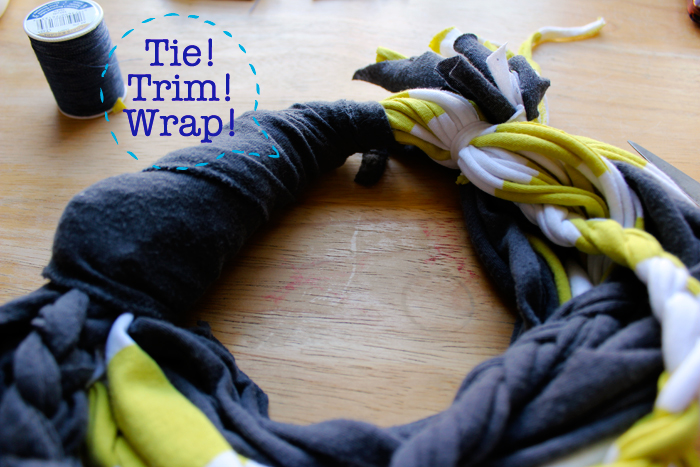
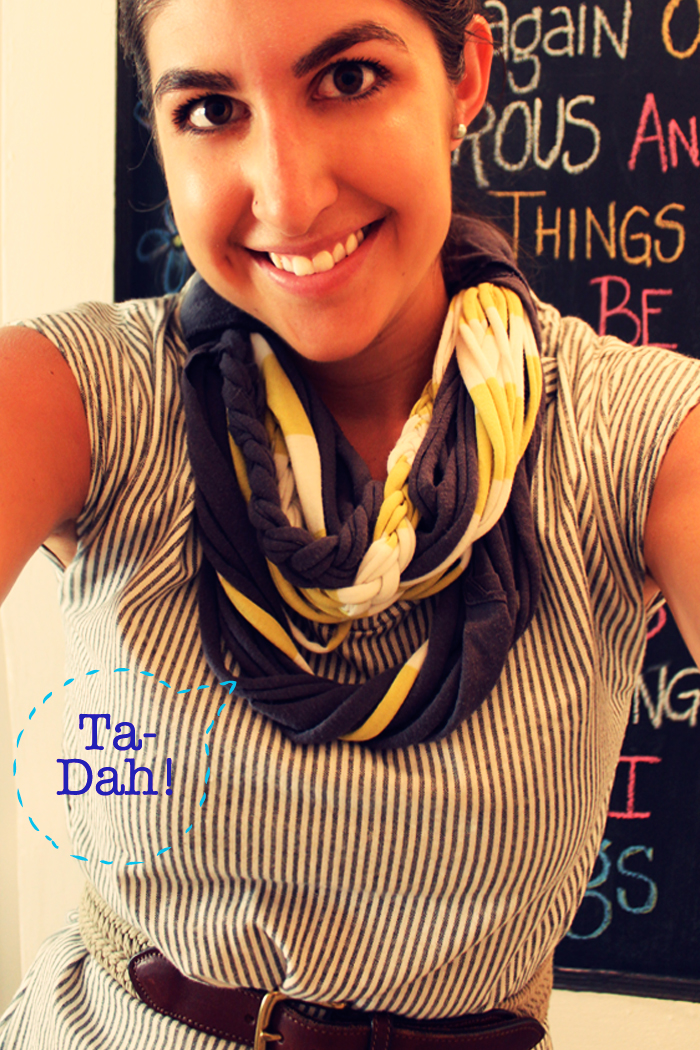
    7} Tie together, trim ends, and wrap with the excess sleeve fabric you saved.  Use a needle and thread to secure the end wrap on; covering all of the tying and knotting to keep the scarf together.  This also creates a smooth back for your neck.  And Ta-Dah!  You’re done!


    Ninth and Bird
    |


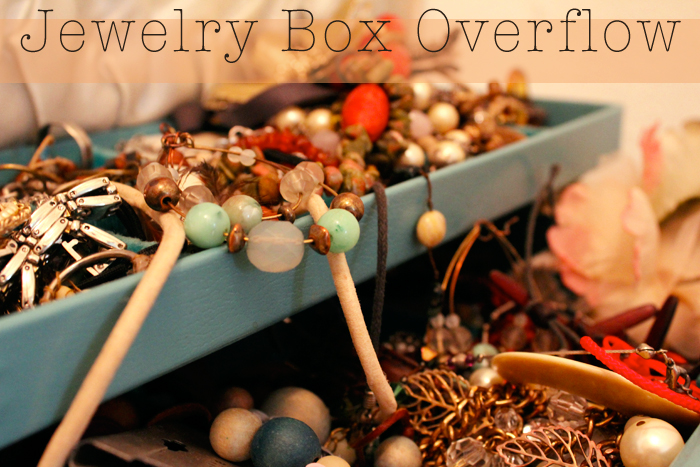
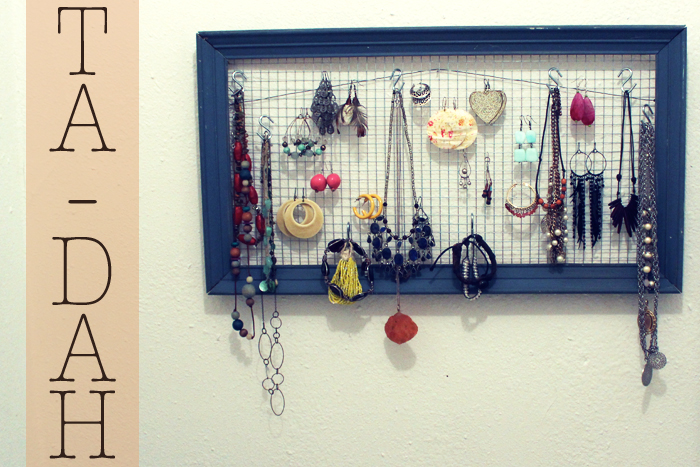
  4. Tangled necklaces! Lost earrings!  This jewelry box has gotten out of hand!  Despite the fact that I love this jewelry box, which I inherited from my grandma - filled with vintage gems, it's really busting at the seams. 

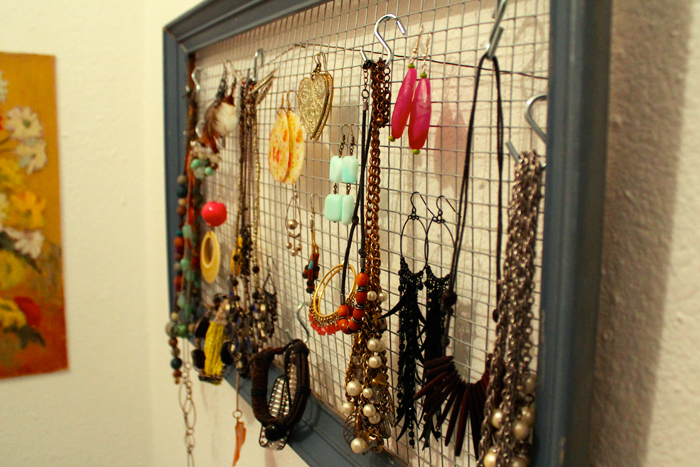
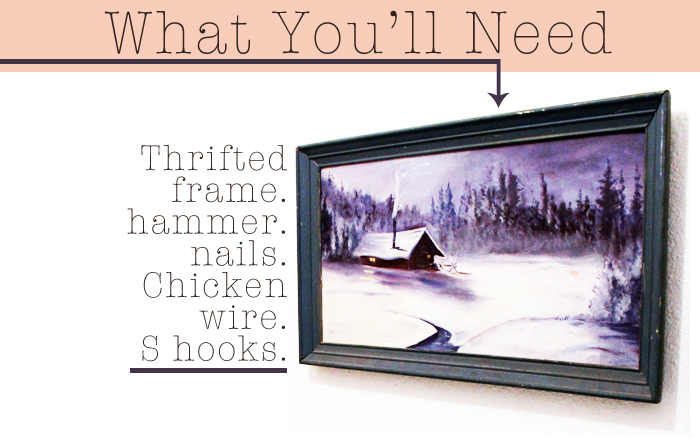
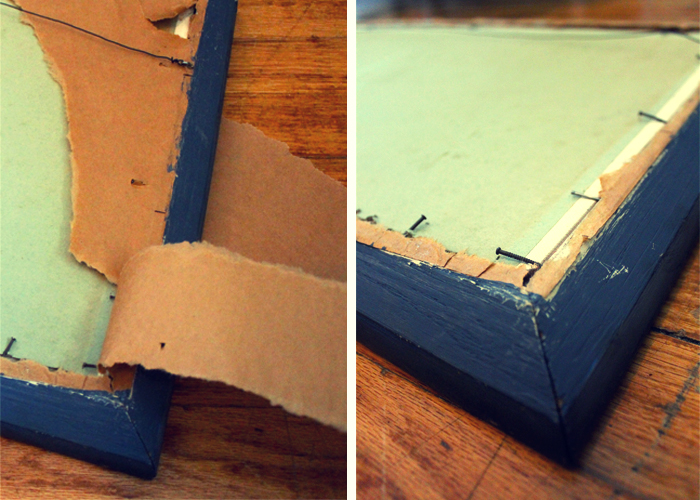
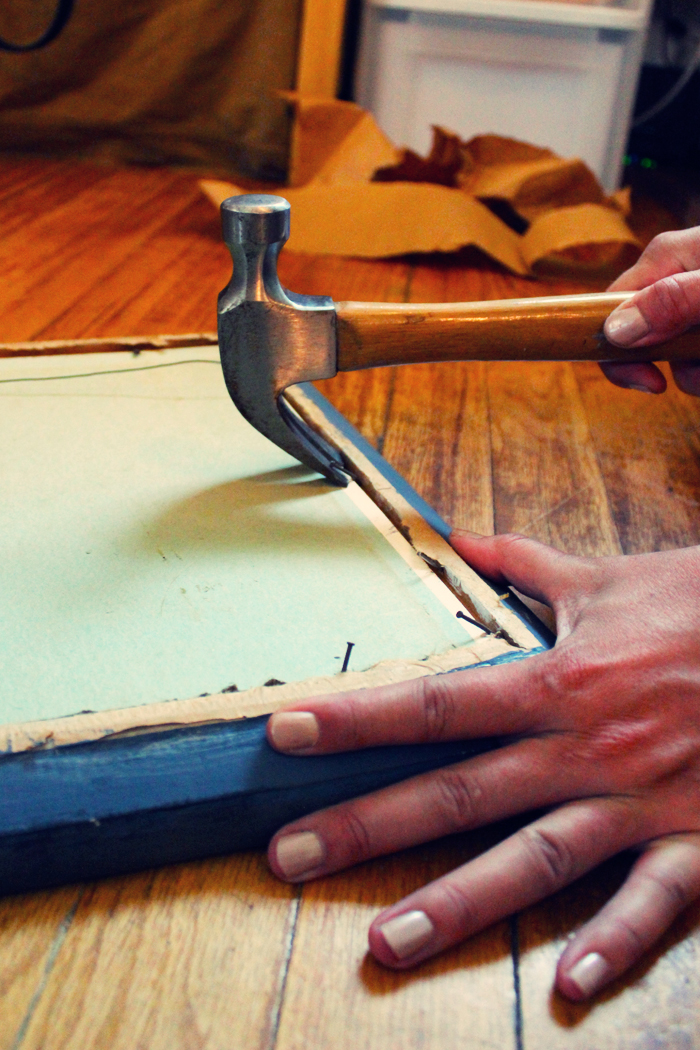
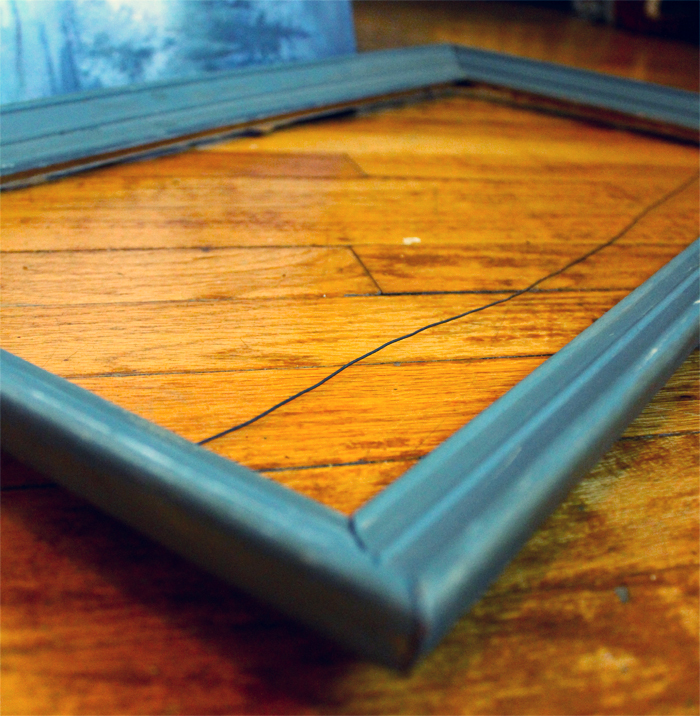
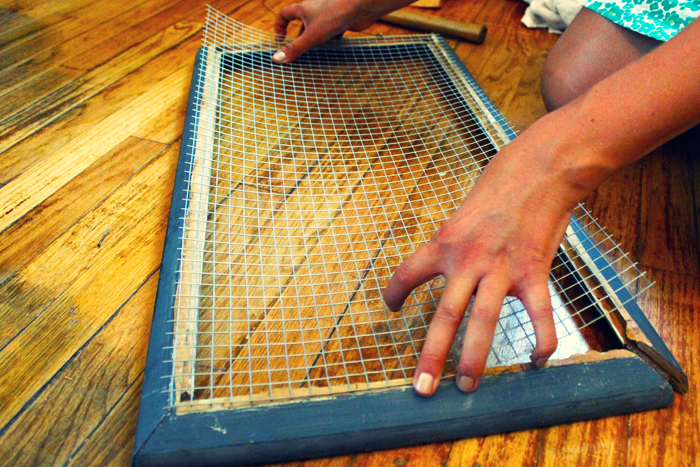
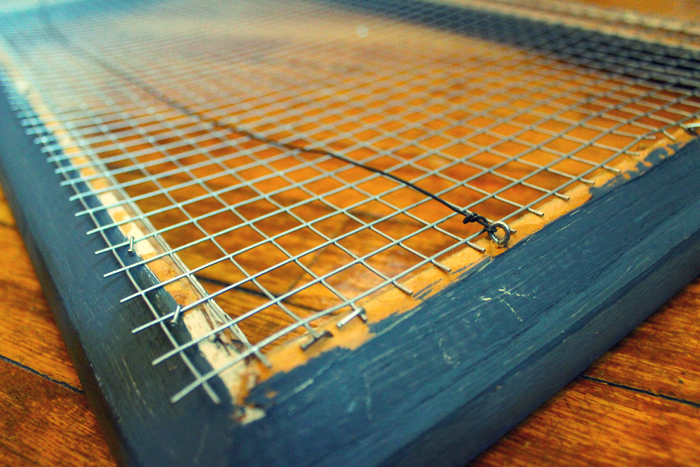
    Today I went thrifting and found the perfect wooden frame to make a jewelry holder.  The whole process took a few hours and now I can actually see my collection!  I feel so organized, and best of all I think it's pretty cute. 

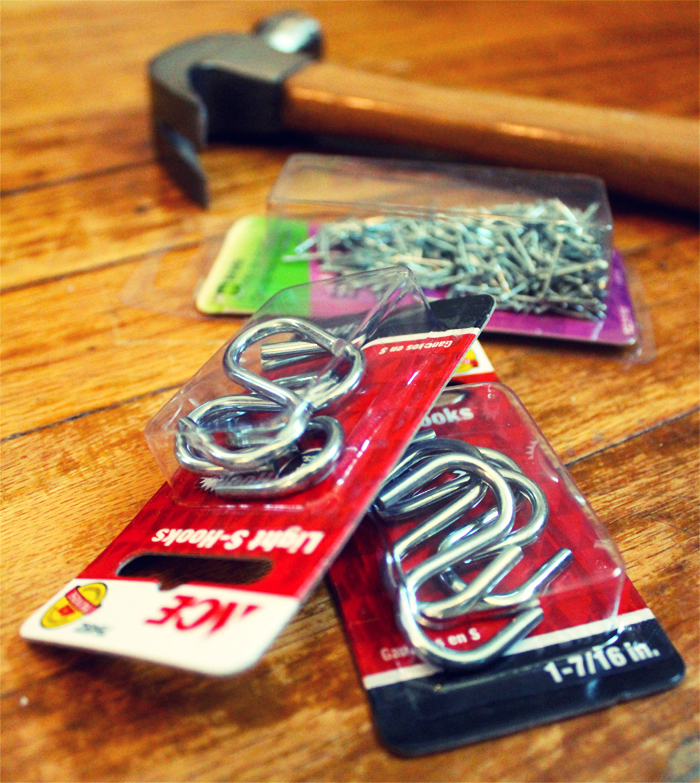
    Hook your earrings directly to the chicken wire and use 'S' hooks to hang necklaces and bracelets.  Now that I'm organized, I feel like I have three times as much jewelry!  I can actually find it all now and I re-discovered a few things.  It was a fun project - I just love it!

    Ninth and Bird

    |


Related Posts Plugin for WordPress, Blogger...